Project build…..
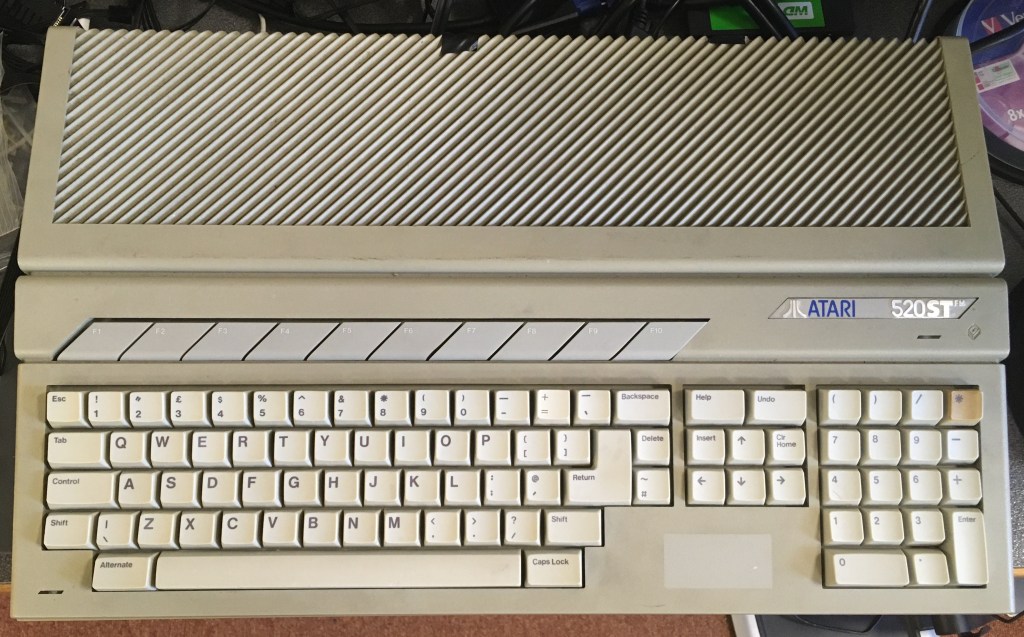
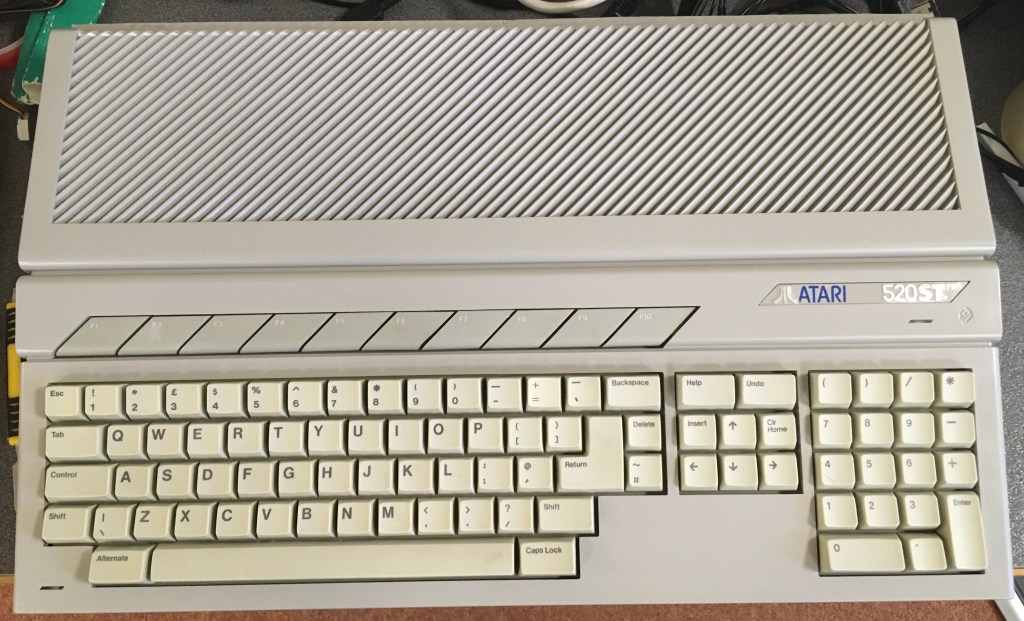
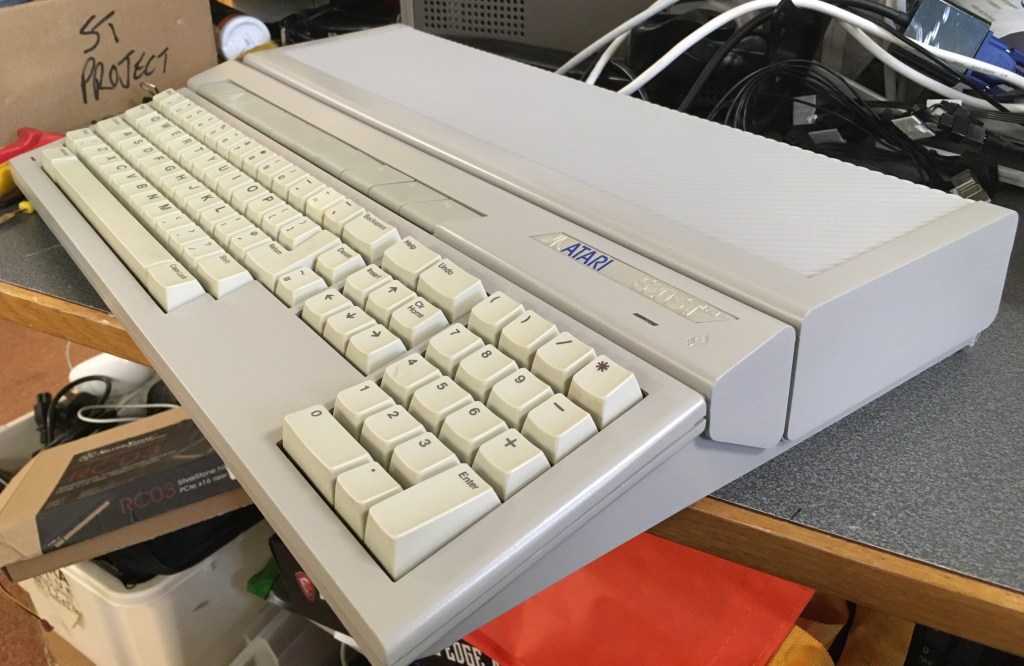
So here it is in all it’s glory 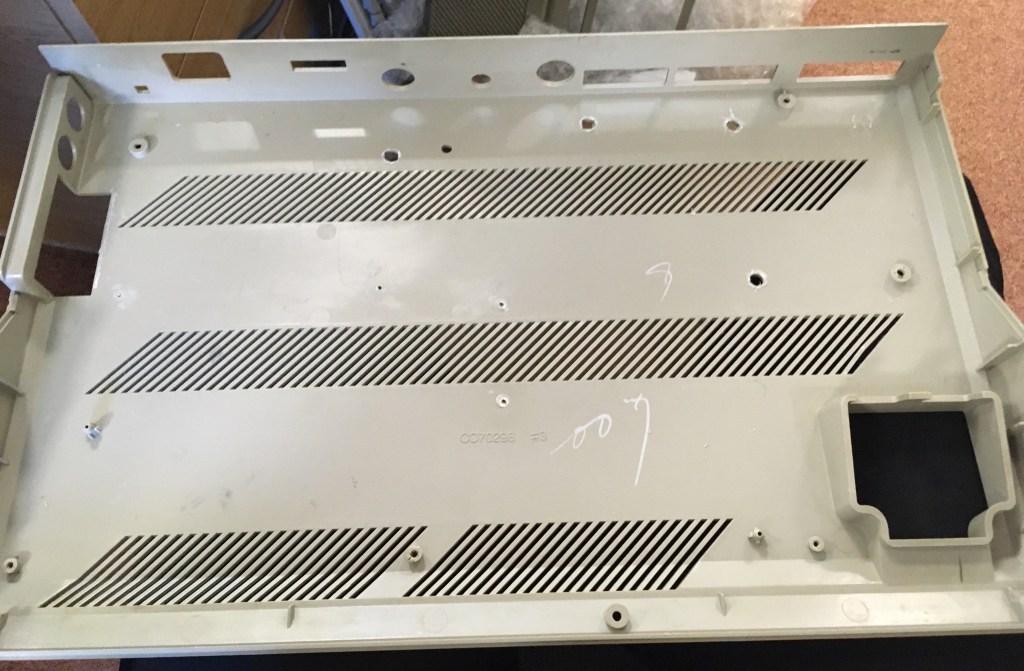
Looks like this originally machine 8 built by “Lee” in the factory originally 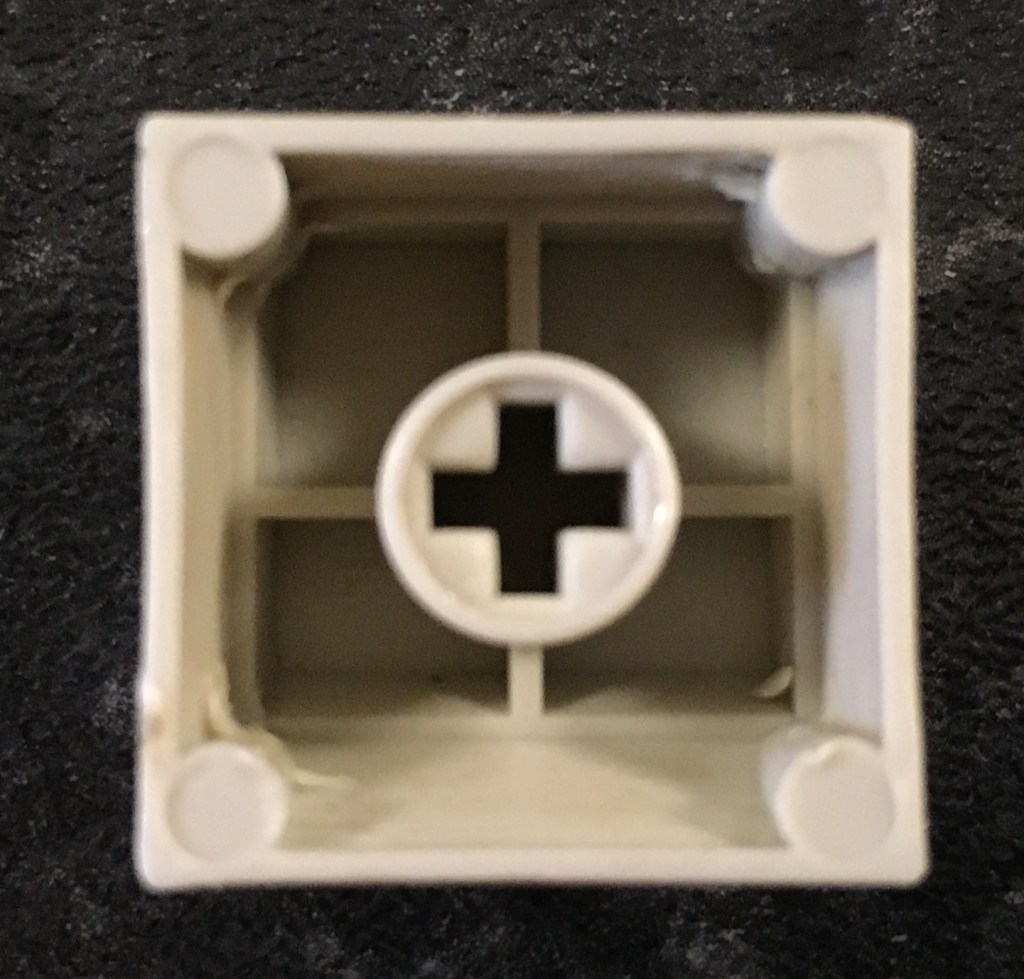
I could be wrong but these look like Cherry MX keycaps…Perhaps different coloured replacements might be an option for someone! 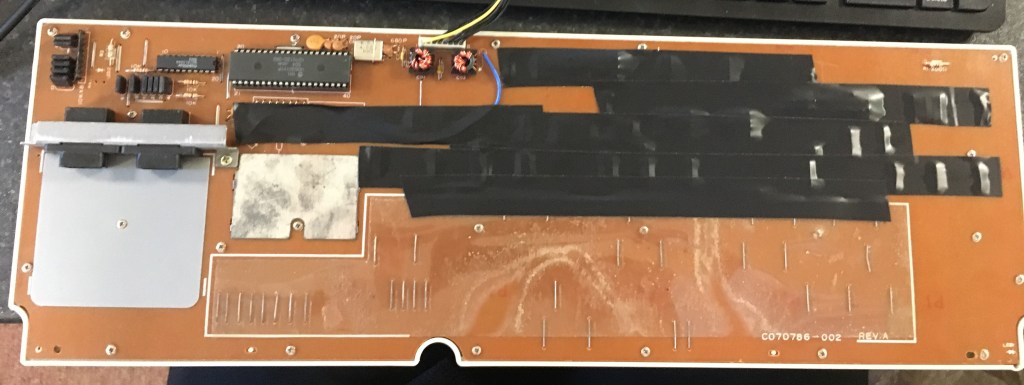
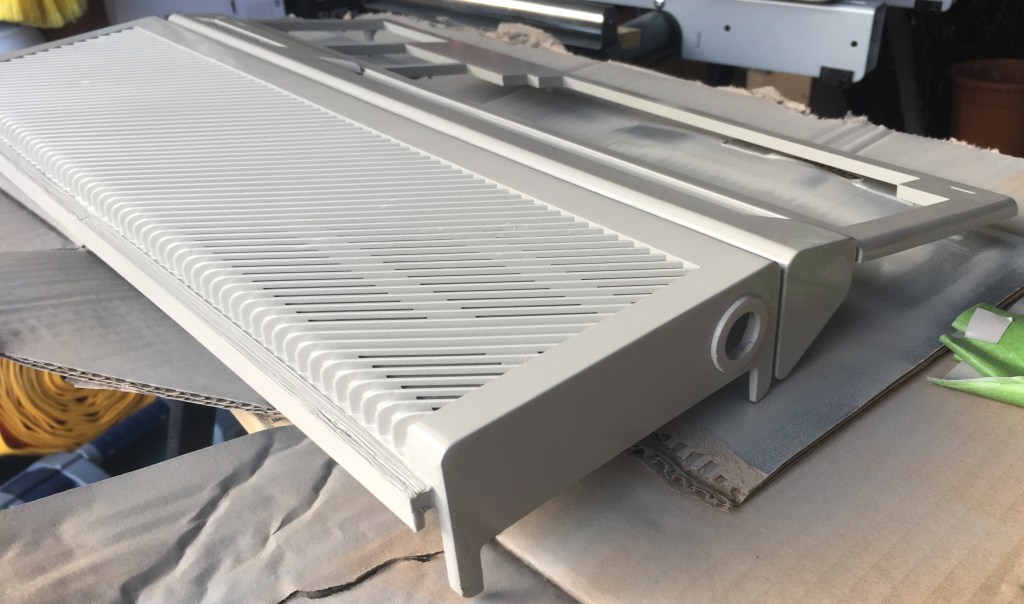
Masking off exposed metal. Can’t have any electrical shorts! 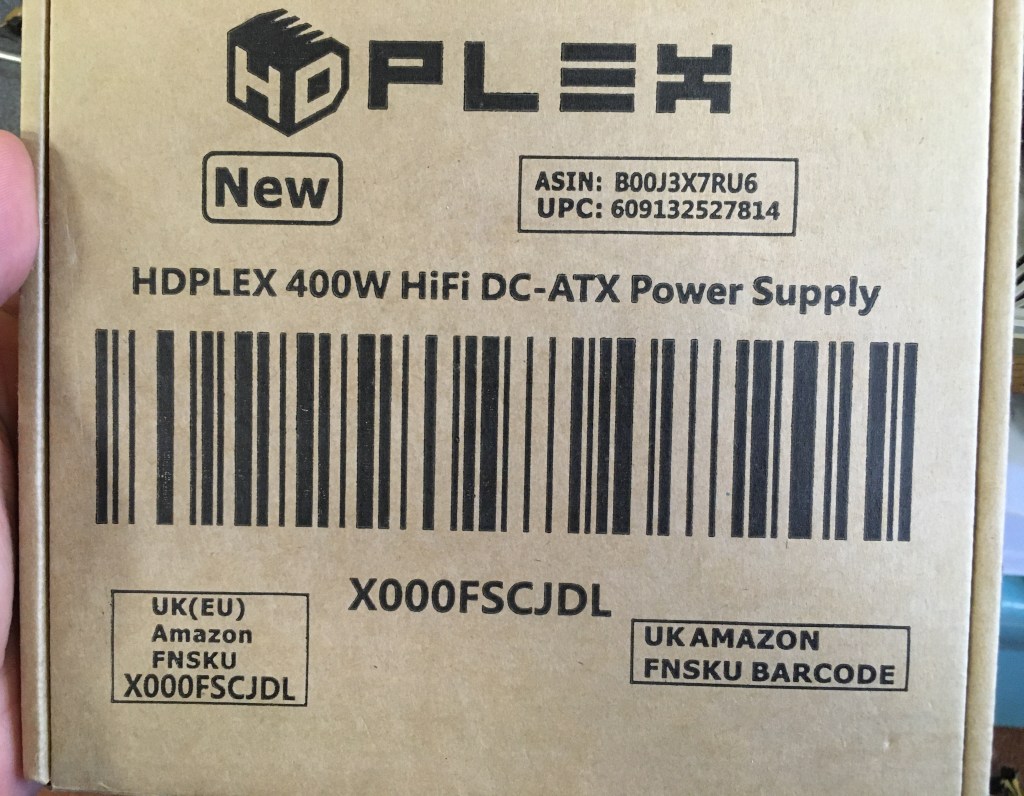
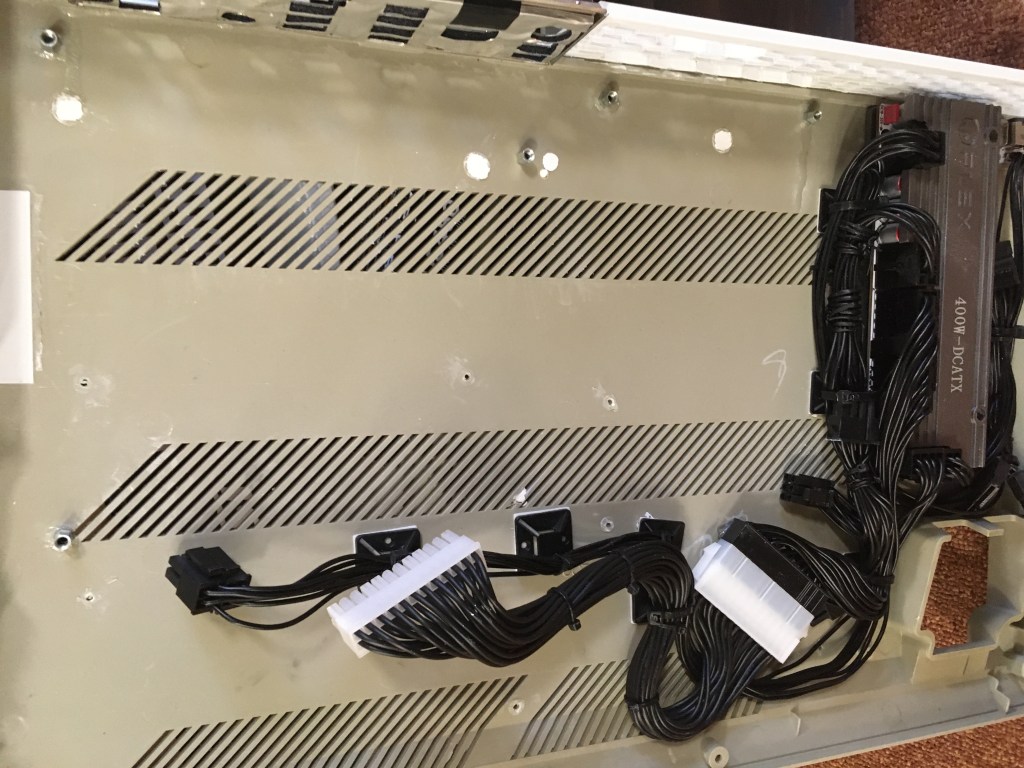
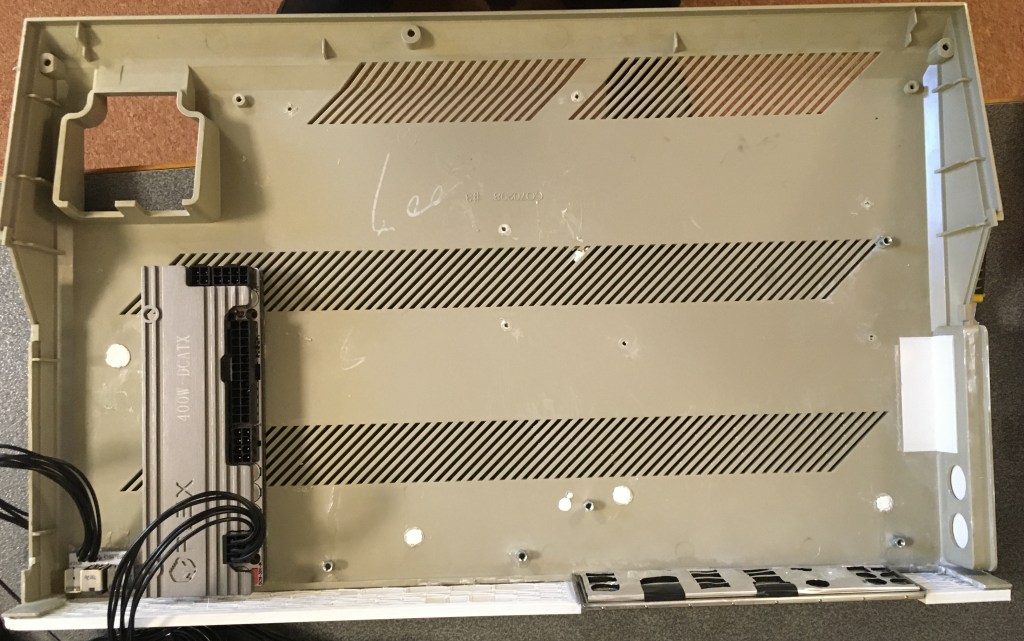
Great compact PSU – Just requires an external power brick 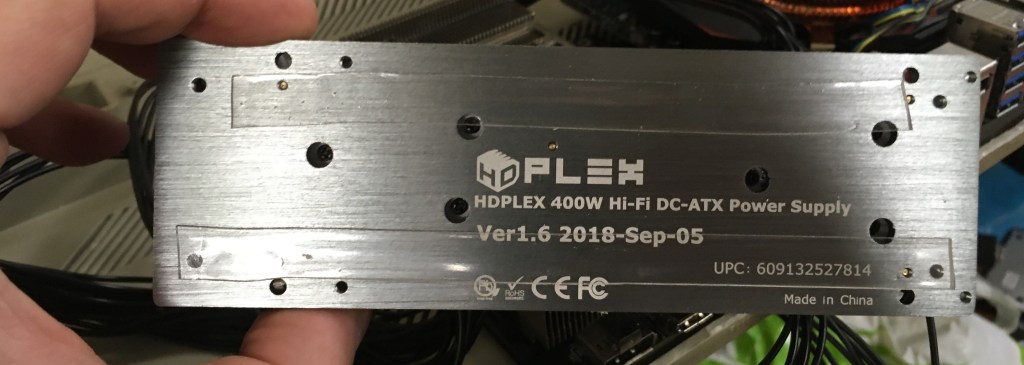
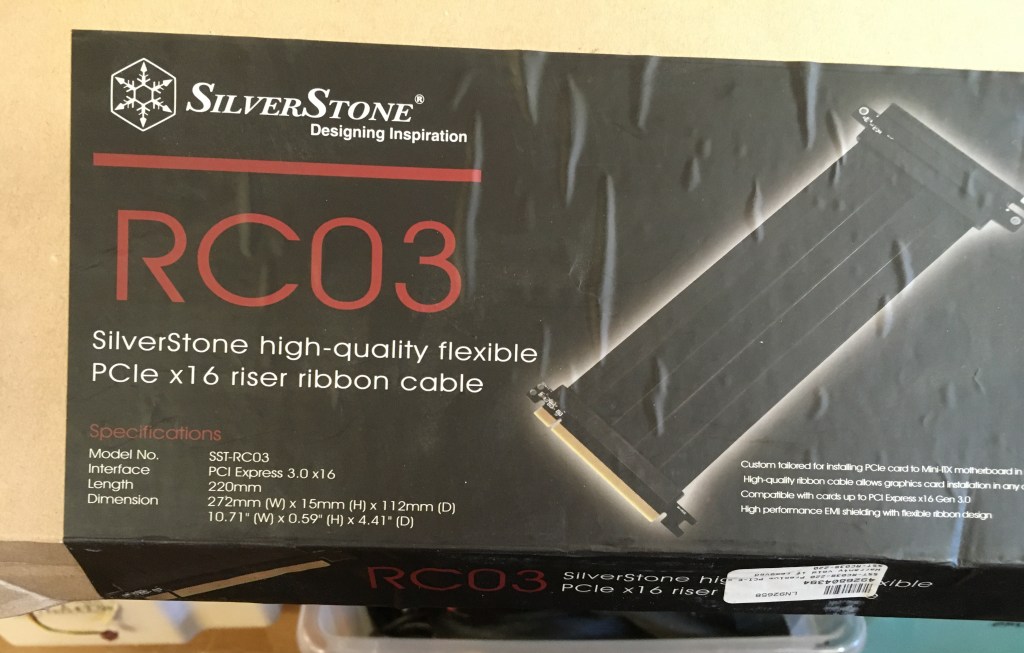
PCI-E riser extension cable. Needed when mounting the GPU sideways – In the end I had to run this underneath the motherboard 
Back i/o panel cut out. Just testing the fitment/location of components 
Seems to fit ok. Needed to use the closes RAM slot to the CPU otherwise using the first slot on the outside causes the keyboard to not fit properly. Either low profile DDR 4 required to utilise both slots or stick a higher capacity stick into the inside slot (currently 8GB) 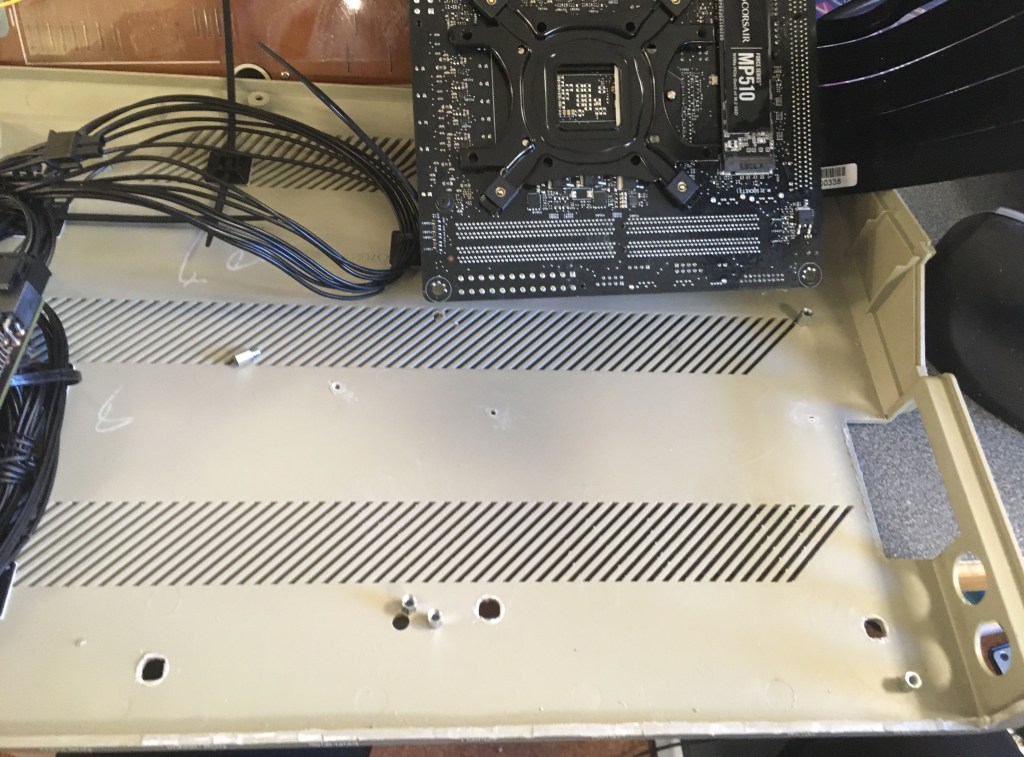
After marking the case through the motherboard mounting holes a motherboard stand-off is screwed in 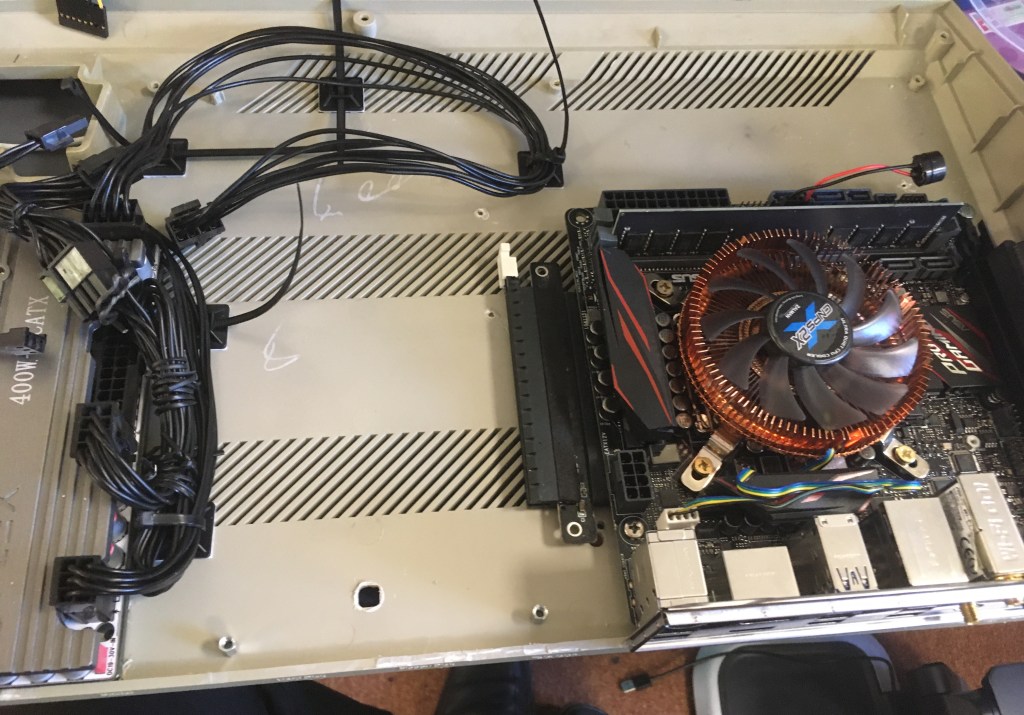
Fortunately the GPU has holes where it can be mounted to the board. More motherboard stand-offs added. 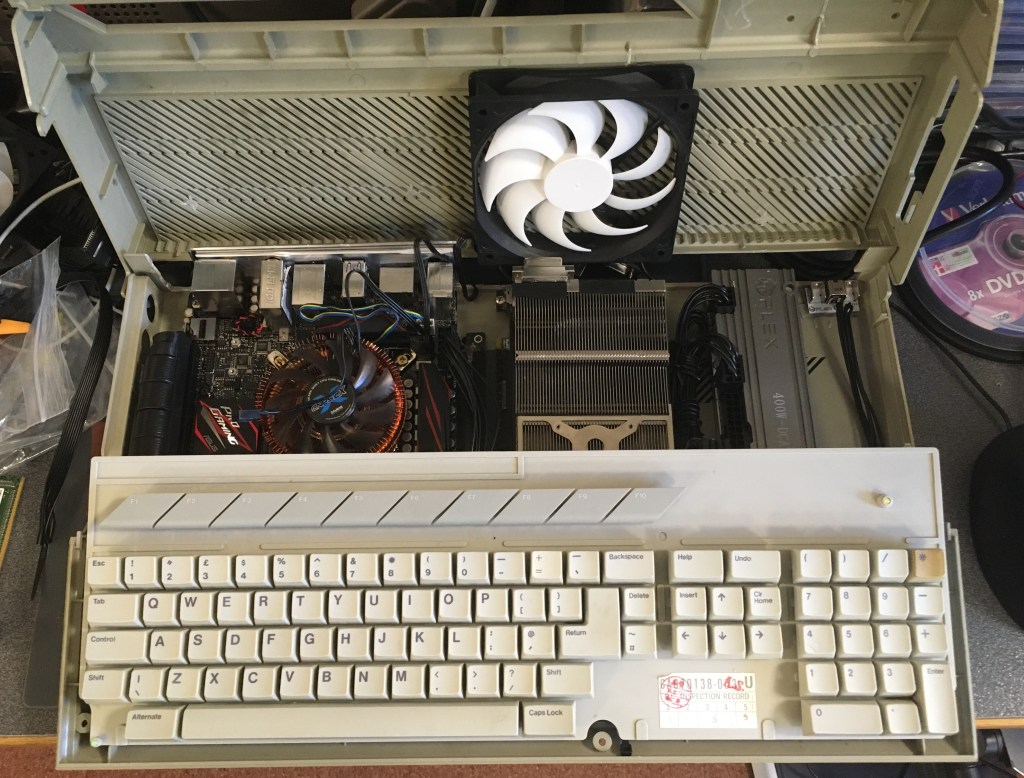
A single 140mm fan double sided taped to the top of the ST case. Seemed to work ok but added another one next to this as another intake over the PSU 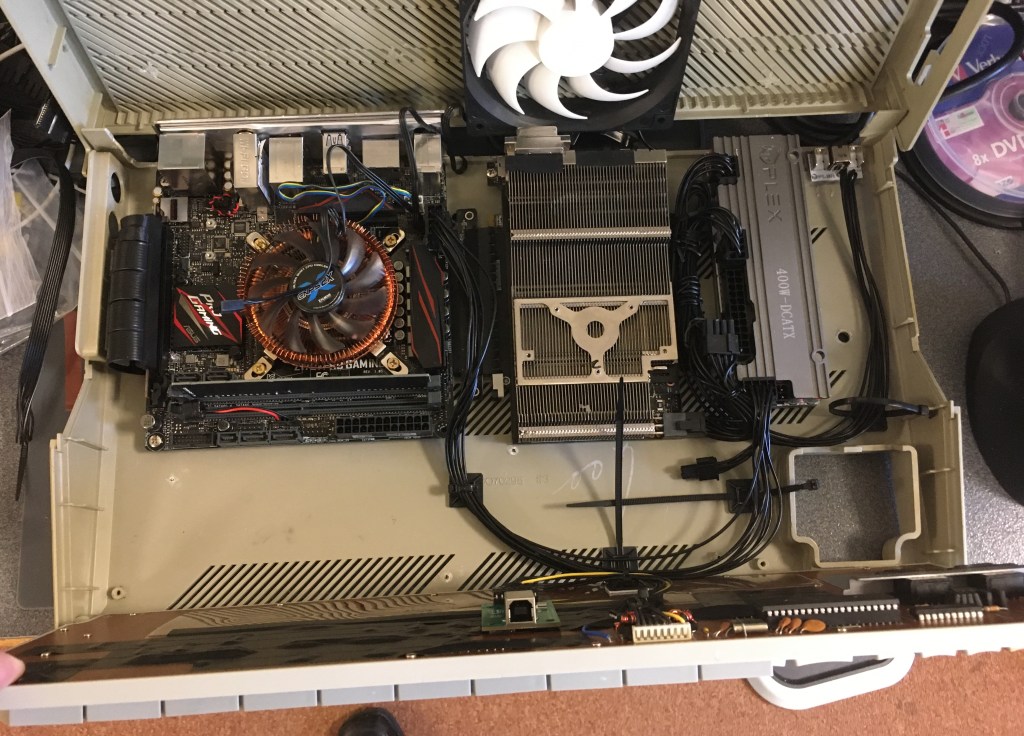
Starting to work out the cable routing. Plus you can see the USB keyboard module mounted under the keyboard. This needs a USB A to B cable. Instead of having cable coiled up inside I cut the ends of the USB cable and soldered this to the end of a USB motherboard header so that it could be plugged straight into the motherboard 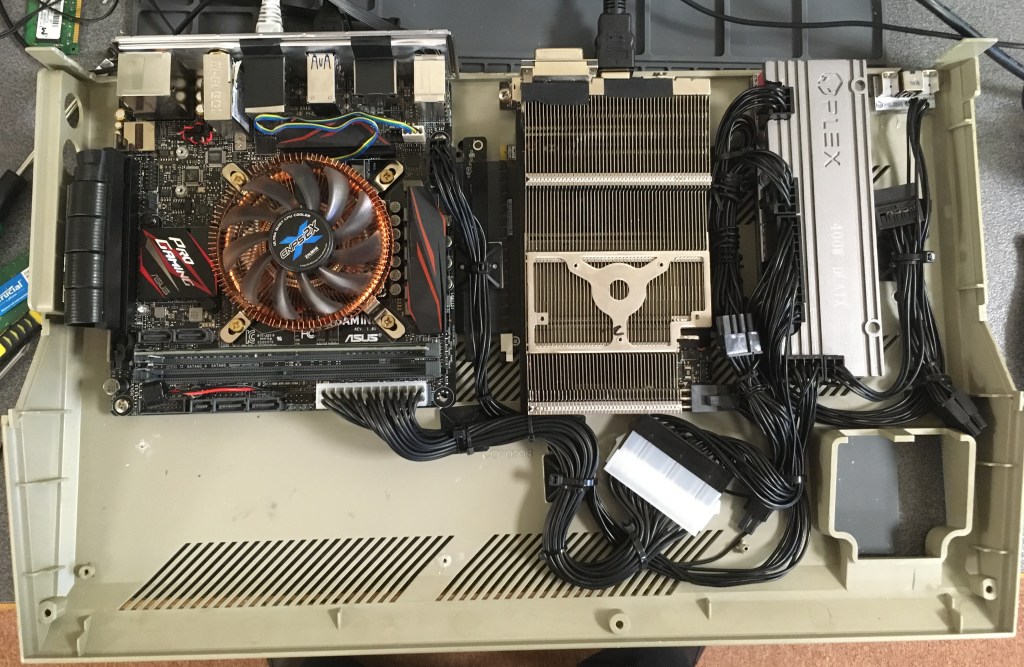
Unfortunately the 24 pin power connector that comes with the HDPlex PSU wasn’t long enough so I had to order a extension. Another chunk of plastic connector I had to try and find a place for! 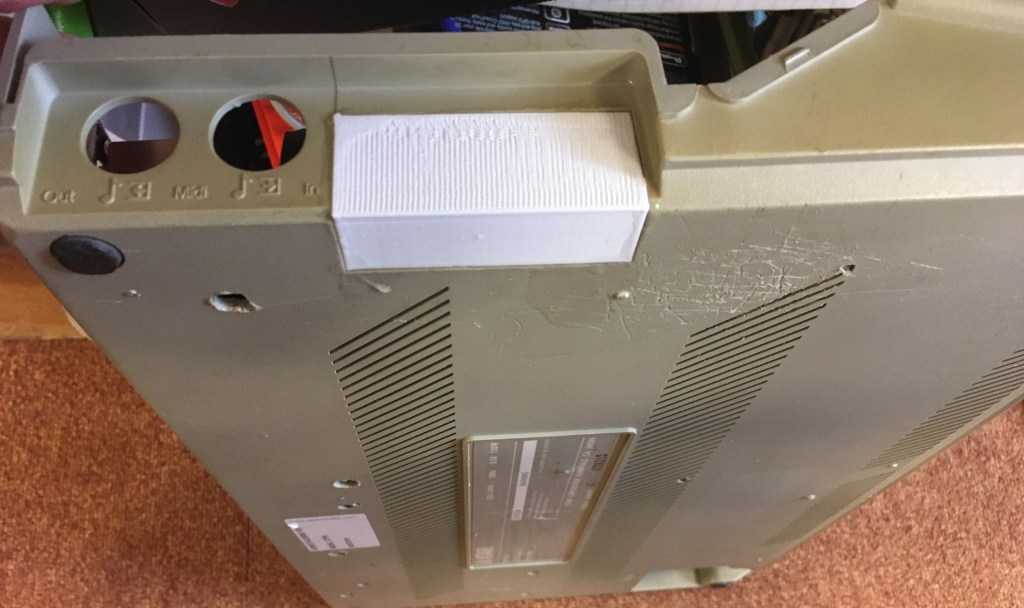
So I figured I couldn’t utilise any of the original cut-outs on the case for anything so I needed to cap them and fill them. 3D builder and access to a 3D printer came in handy with this one! 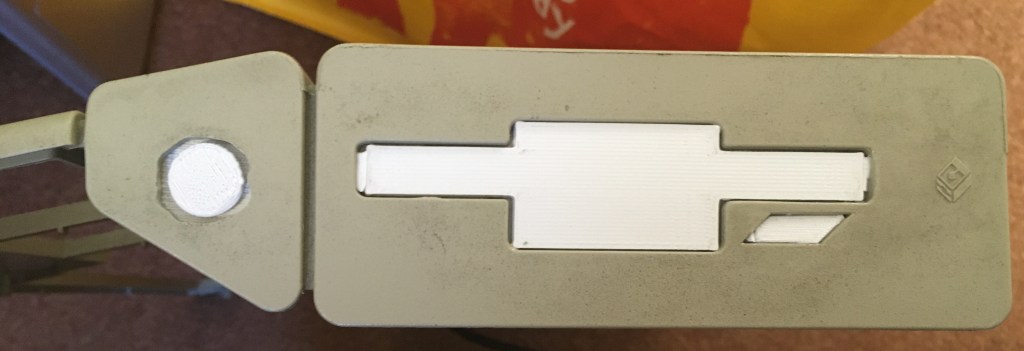
Floppy drive location filled with another 3D print. Notice the failed attempt at a power button hole which I’ve then had to fill with something. Doh! 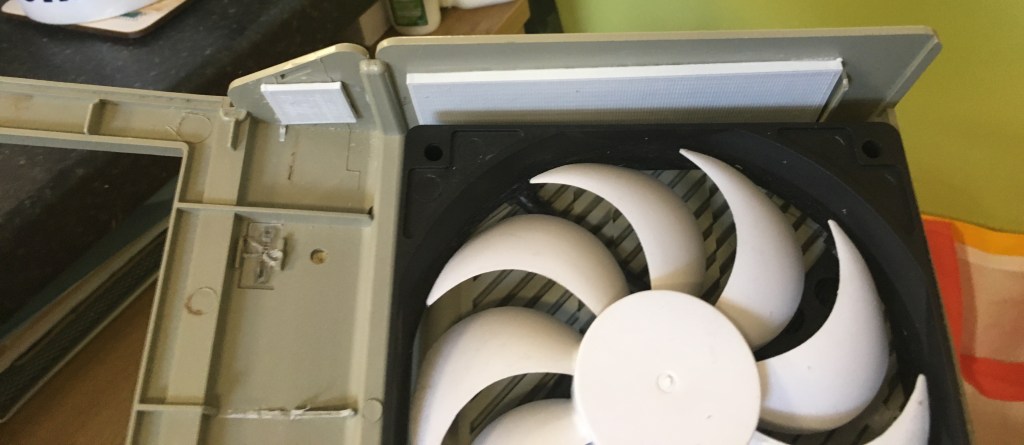
A simple back plate behind the other 3D pieces on the outside. Copious amounts of superglue is your friend here! 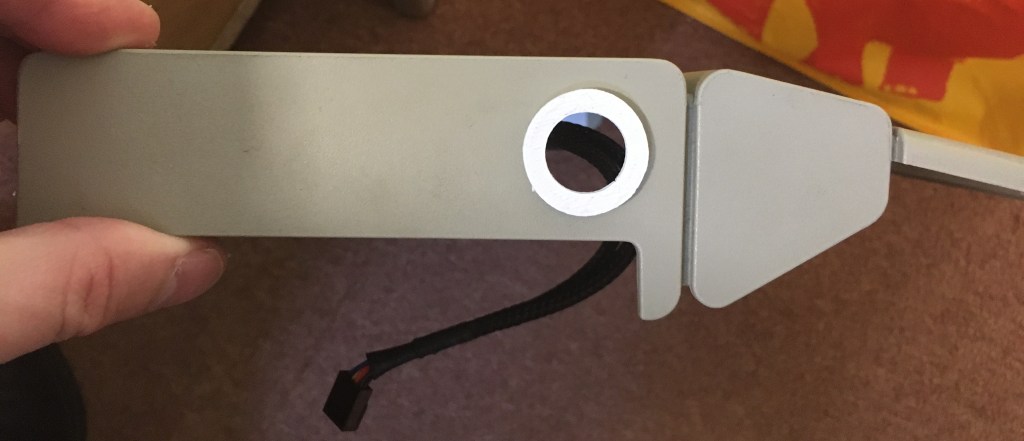
So I ended up putting the power button on the other side. 3D printed a finishing part because I wasn’t happy with the ham fisted job I did drilling a round hole into the case 
Another 3D printed piece. This turned out to be pretty delicate and needed strengthening with superglue in many areas. Chopped out the sections where cable input is required 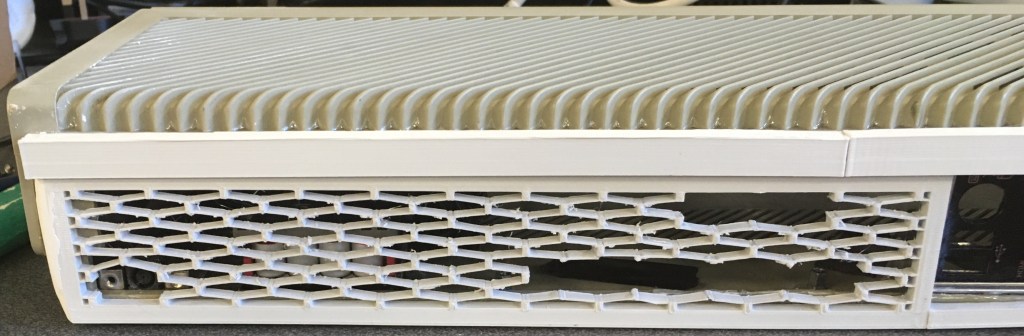

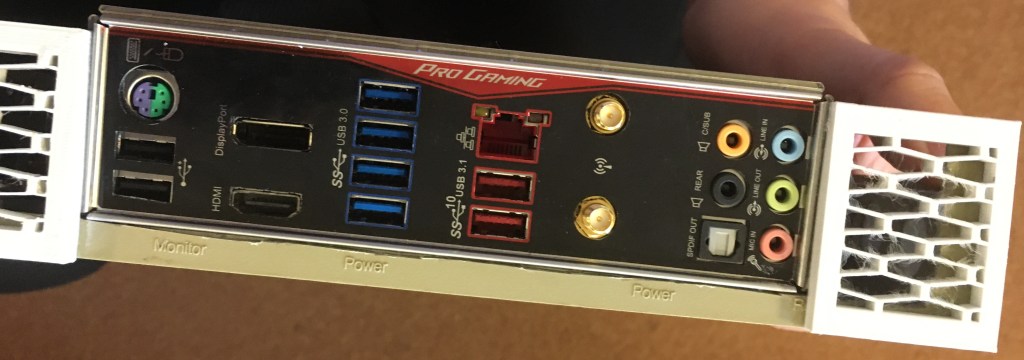
Well it’s not the neatest job as I didn’t have access to all my tools (they were at home) but the motherboard i/o plate fits 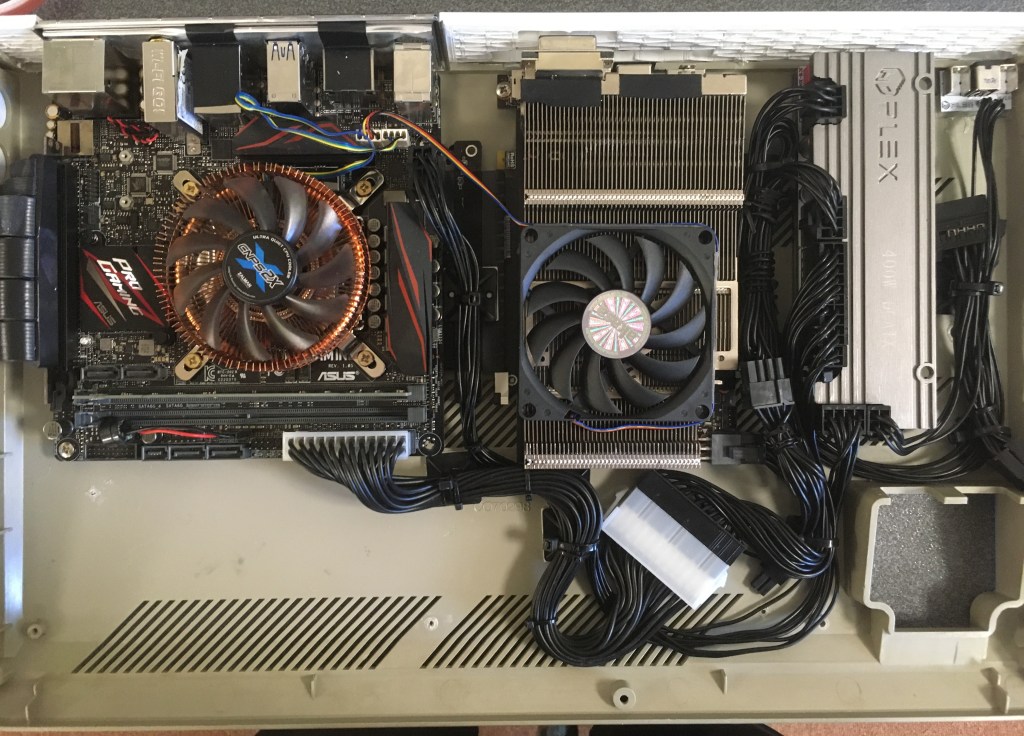
Test with an additional slimline fan mounted onto the GPU. Temperatures were actually worse with it on as I suspect the 140mm fan mounted on the top of the case couldn’t direct it’s airflow onto the heatsink. 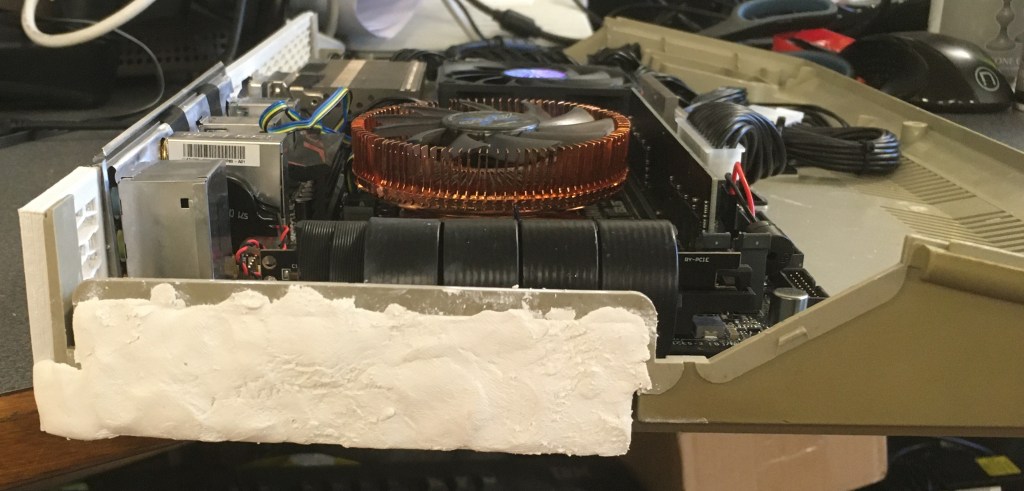
Looks like chewing gum or white tac doesn’t it? Well it’s not. It’s Milliput Epoxy Putty. 2 compounds to mix so it feels a bit like white tac but this stuff sets like concrete! 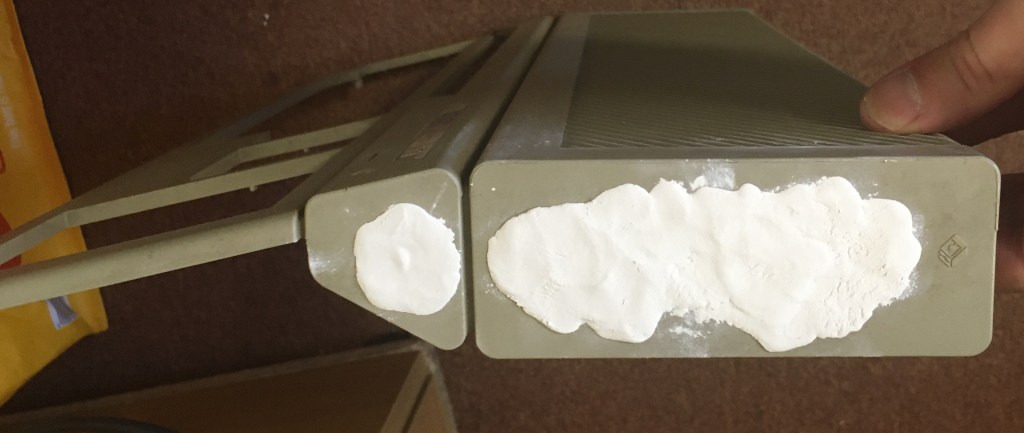
Other the side of the case filled. Waiting to be sanded. Looks a mess I know. 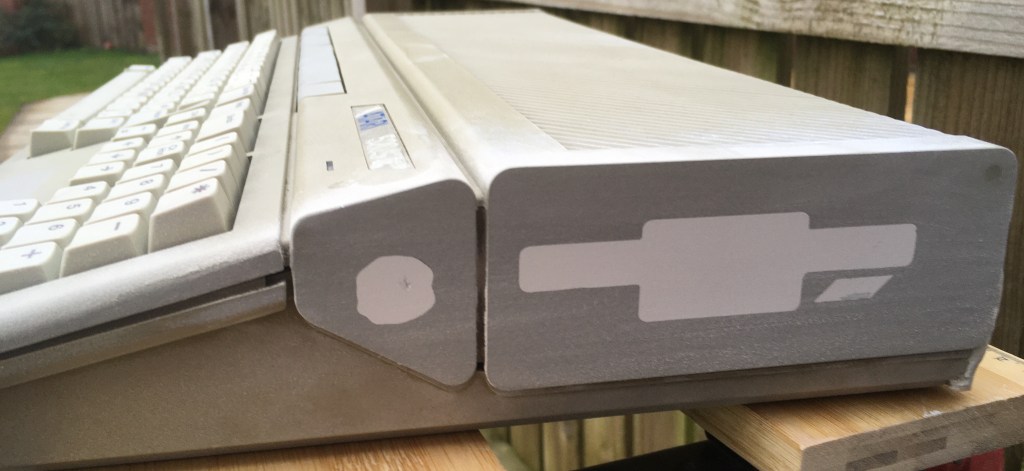
So after a trip home to meet some power tools the epoxy putty sanded down nicely. 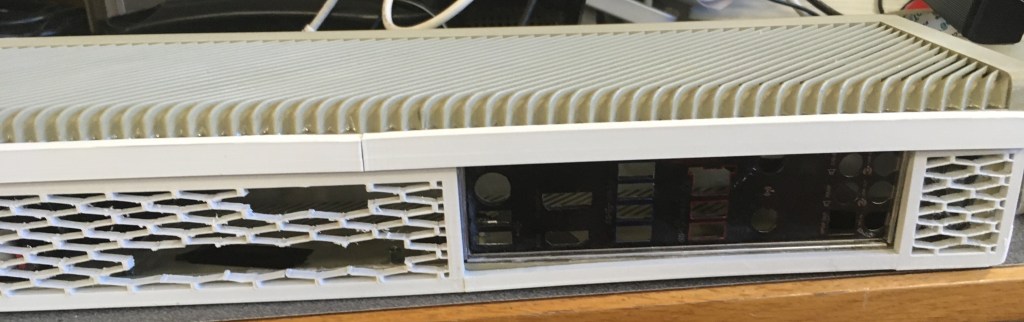
So because I wasn’t too careful with the case levelling I designed and 3D printed a lip to attach to the top of the case to cover the vents and i/o plate to reduce the visible gap 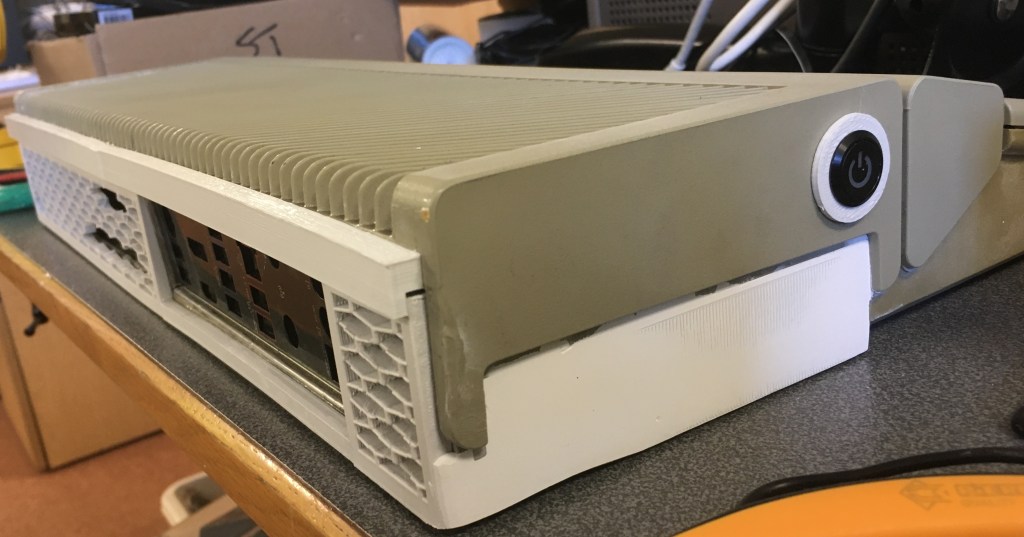
Other side of the case sanded. Button fitment and case closed test 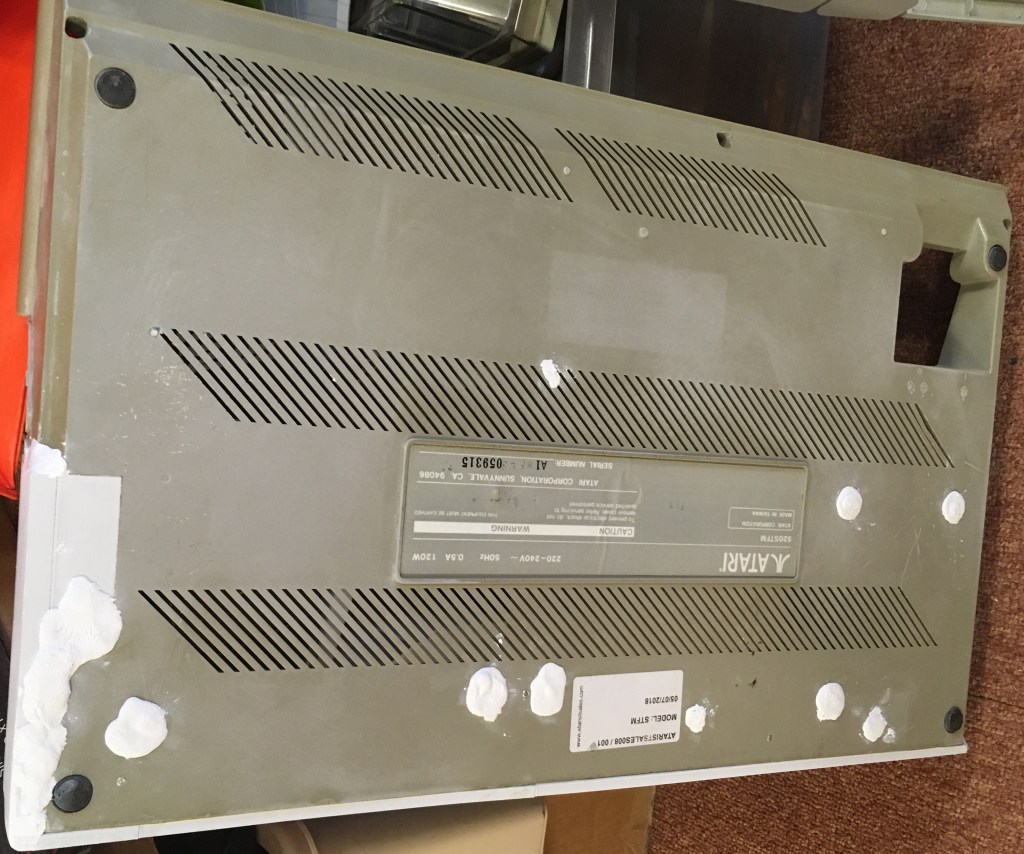
Getting close to the paint job. So everything was stripped back out the case and more epoxy putty applied to the holes underneath. 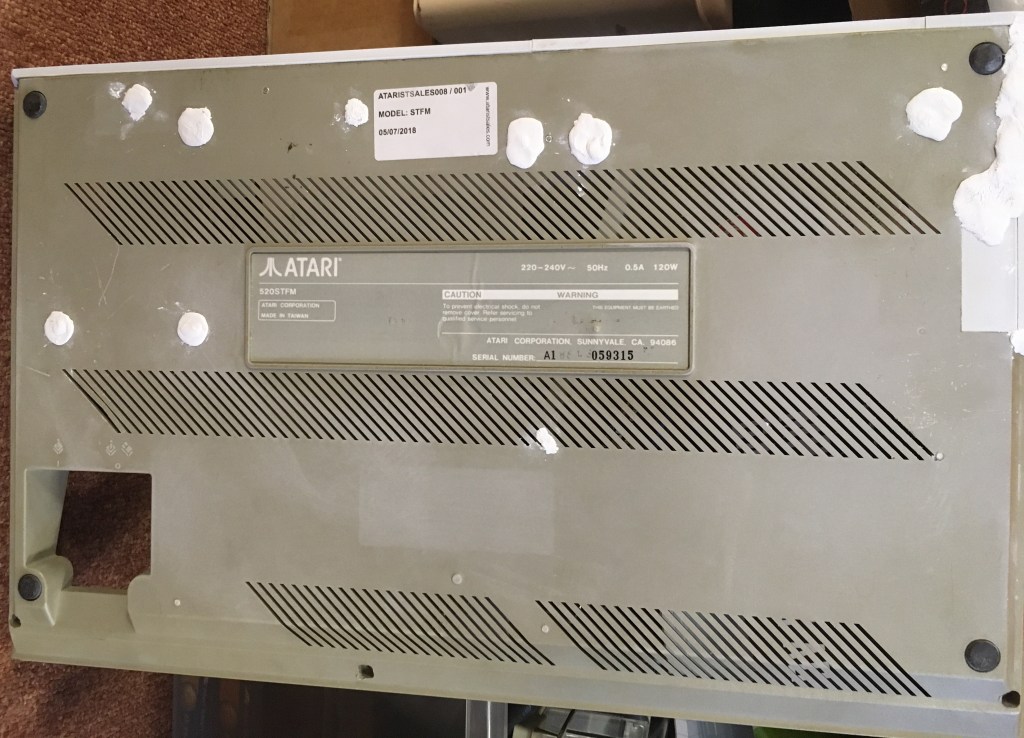
Pesky double sided tape was so strong I struggled to remove the PSU. But I persisted. 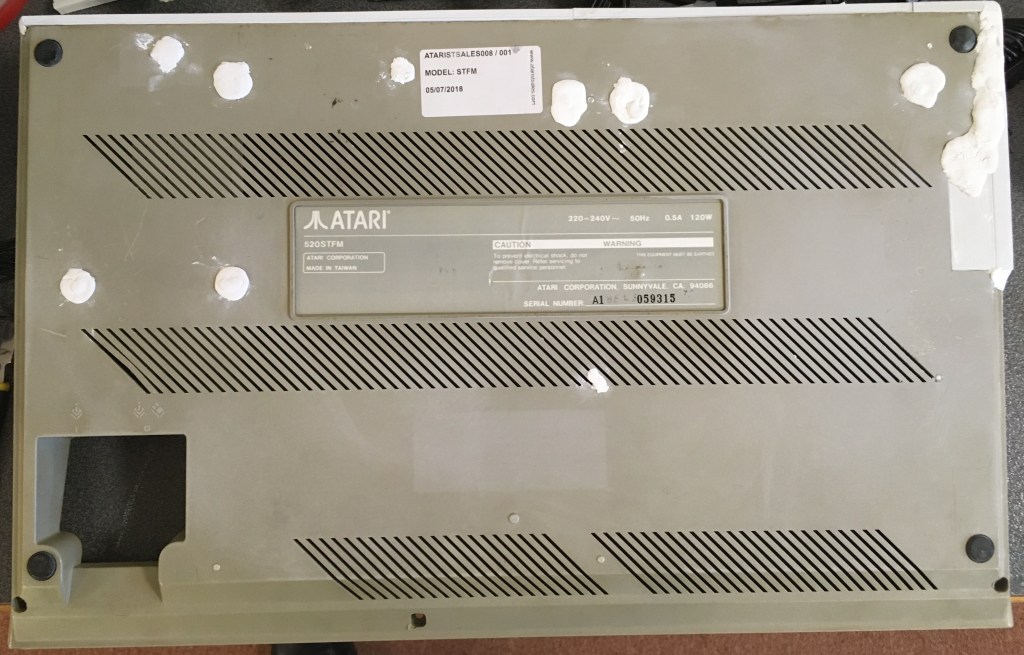
A trip back home and the final sanding an painting 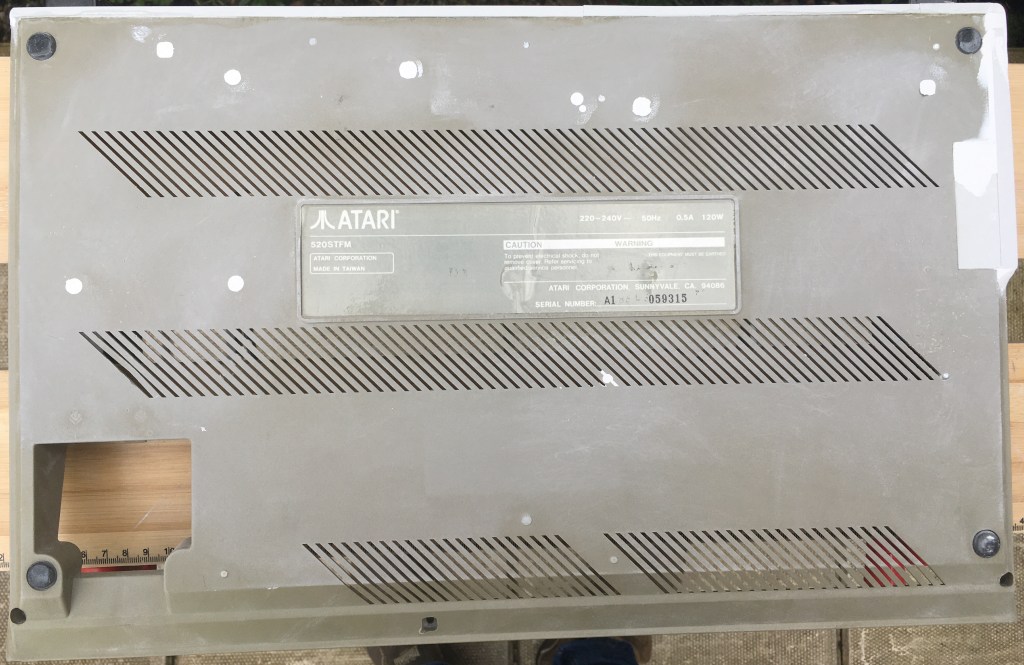
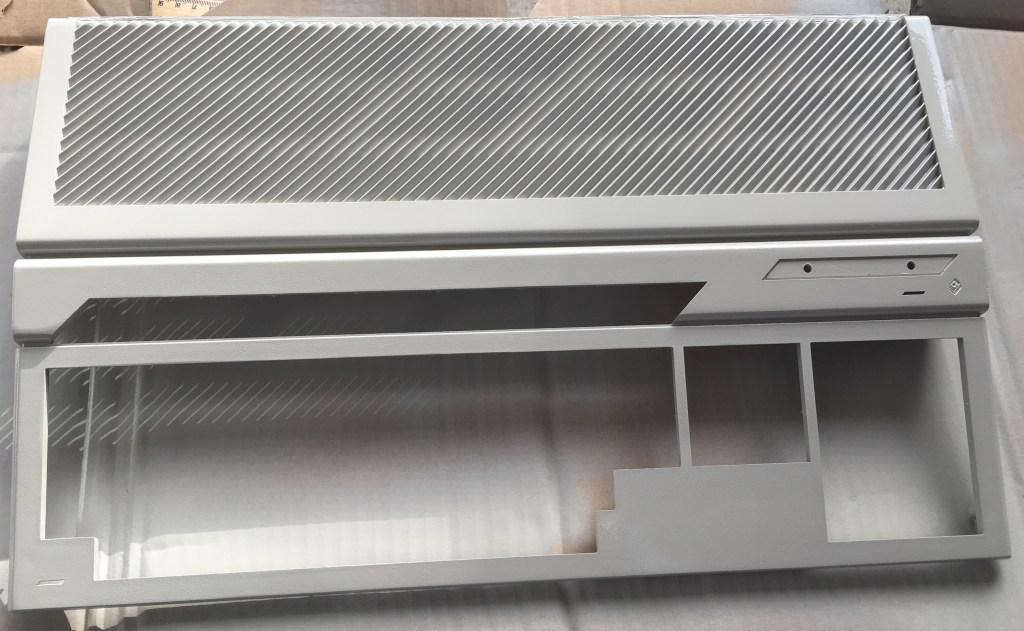
First paint of the top of the case using Rust-Oleum Painters Choice Stone Grey. Really freshens the look of the case back up. 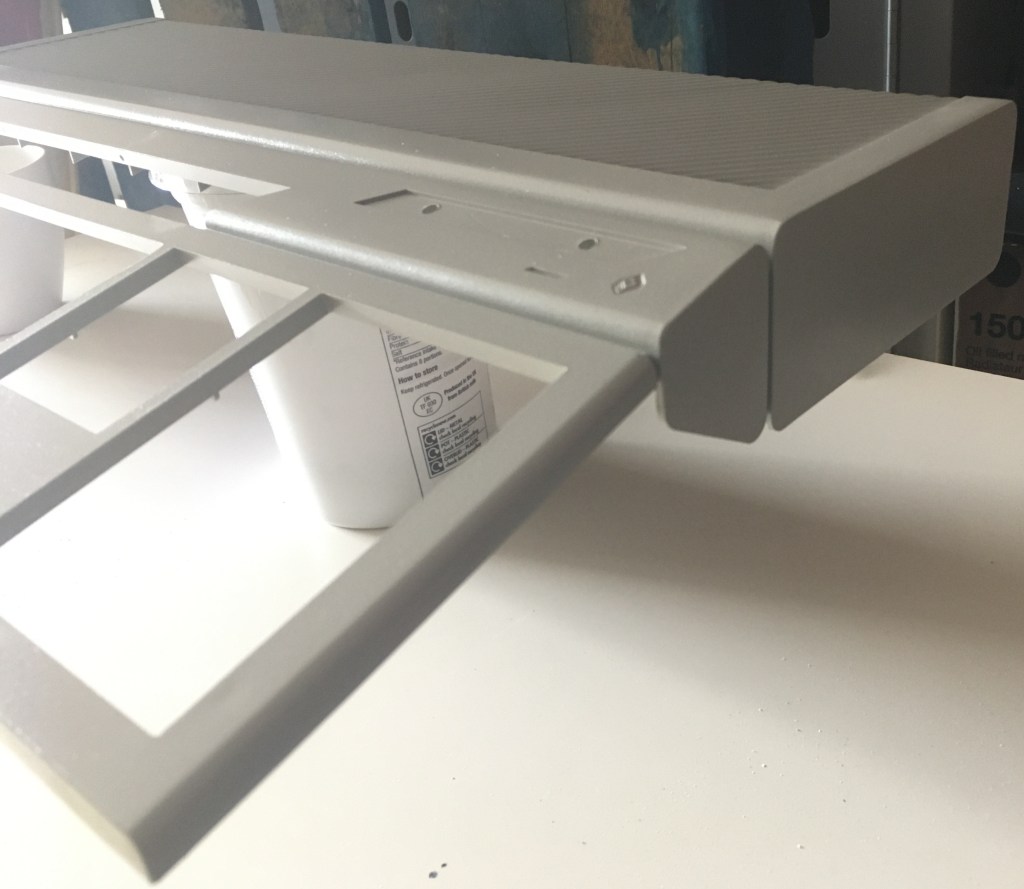
Top case painted from another angle 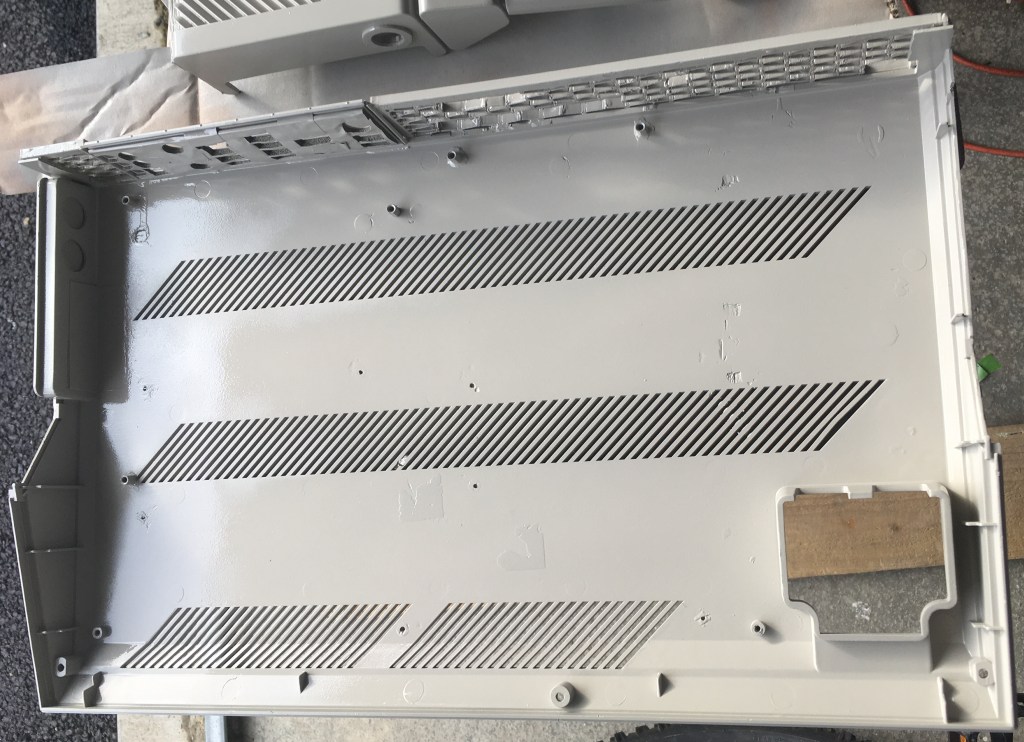
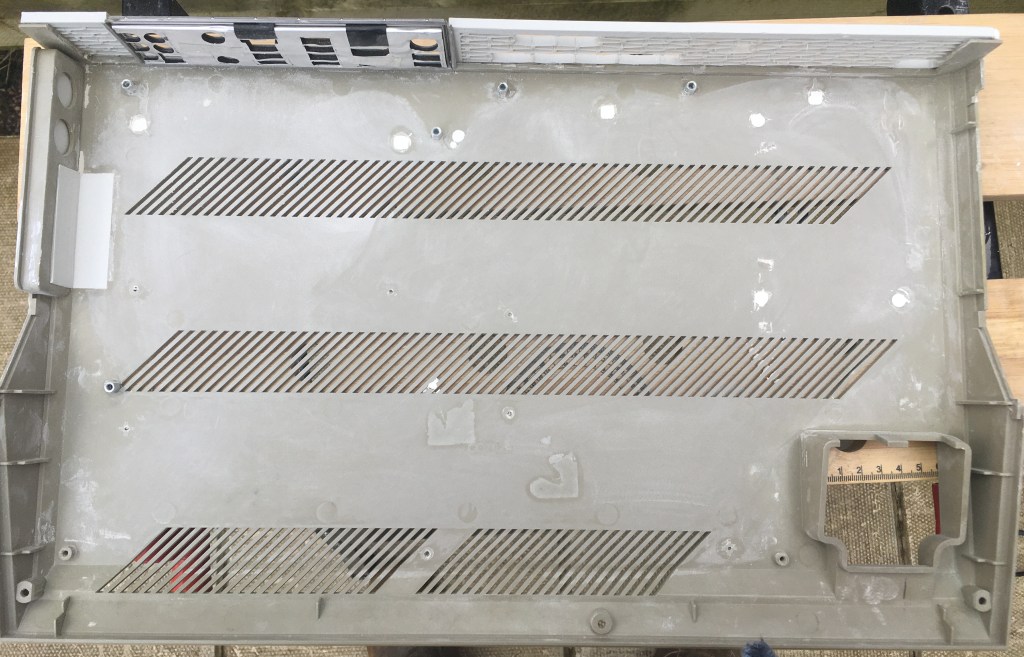
Inside paint of the base case. Sorry “Lee” but your name and build number “8” had to go but your memory will live on! 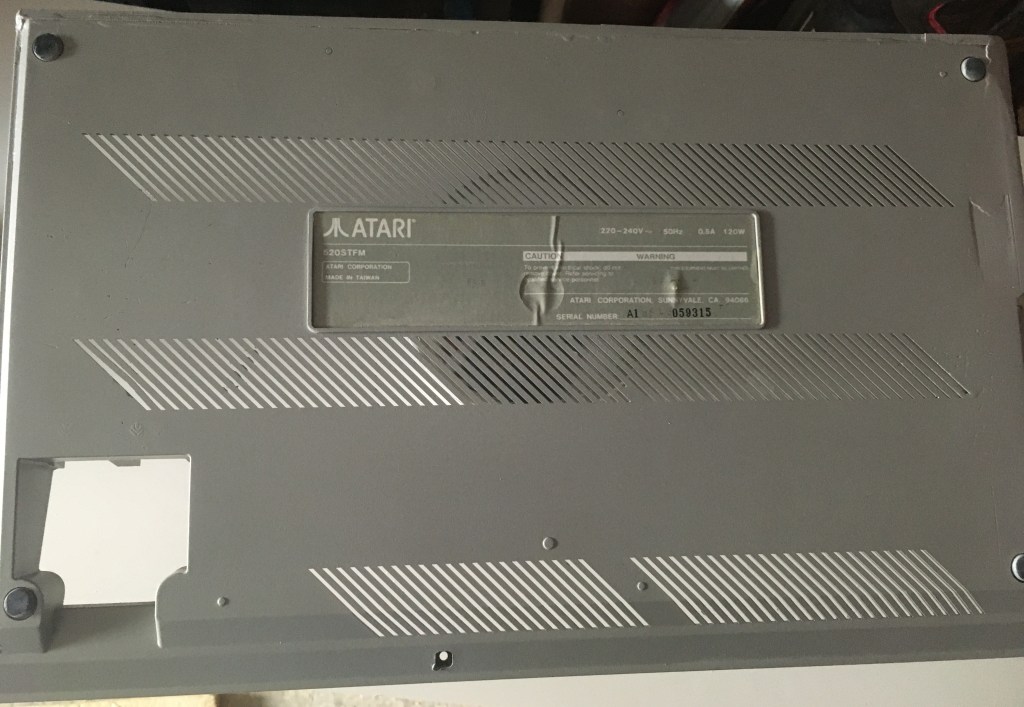
I masked up the original Atari base sticker before spraying the other side. I wanted to keep as many original features as possible 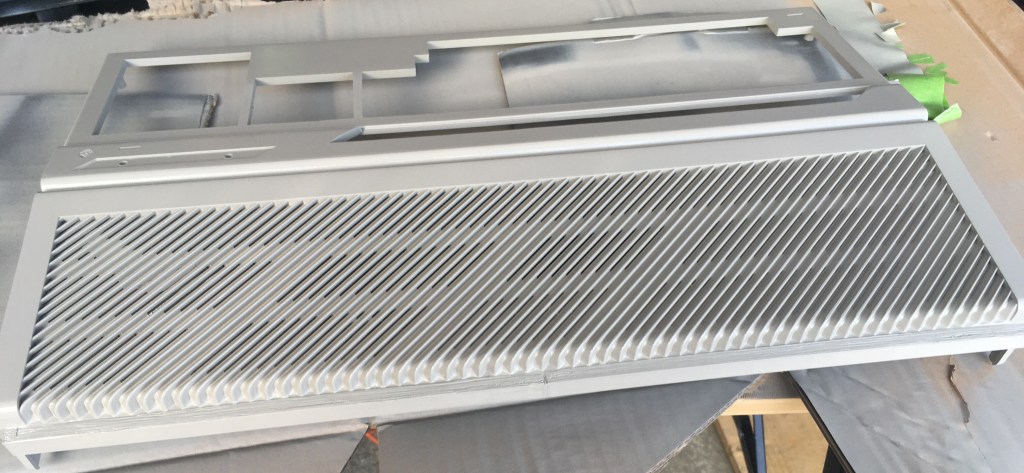
The end is in sight! Another angle of the top case and button finishing surround all painted up. 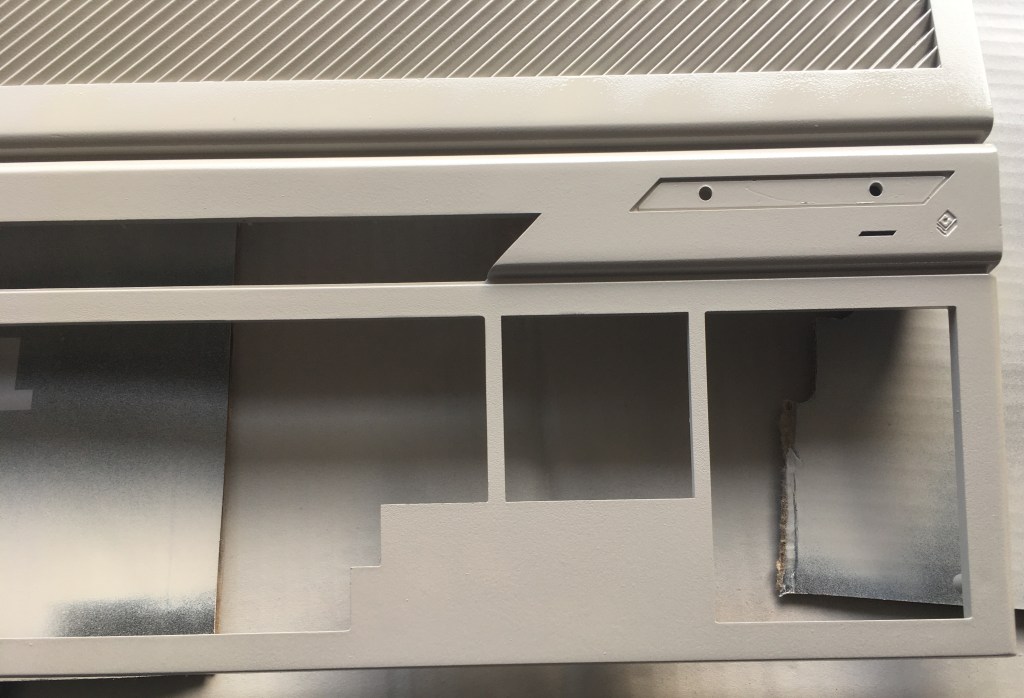
Here it is. All painted up. An empty case at this point but all painted. I thought it turned out pretty well. 
It’s almost like the floppy drive and first power button hole were never there 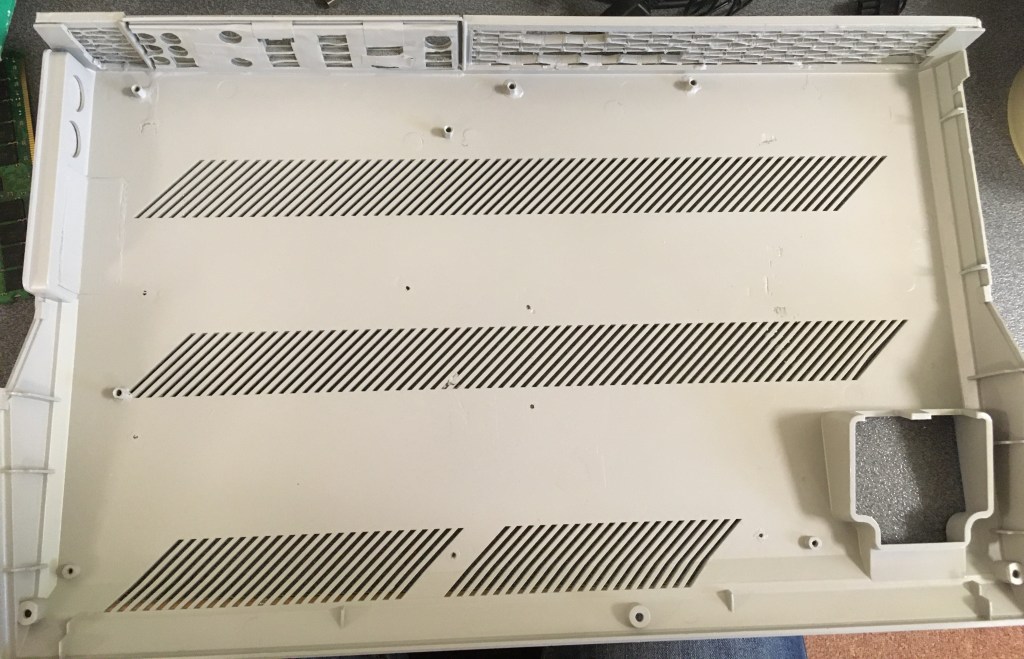
Work begins again to fit everything inside. 
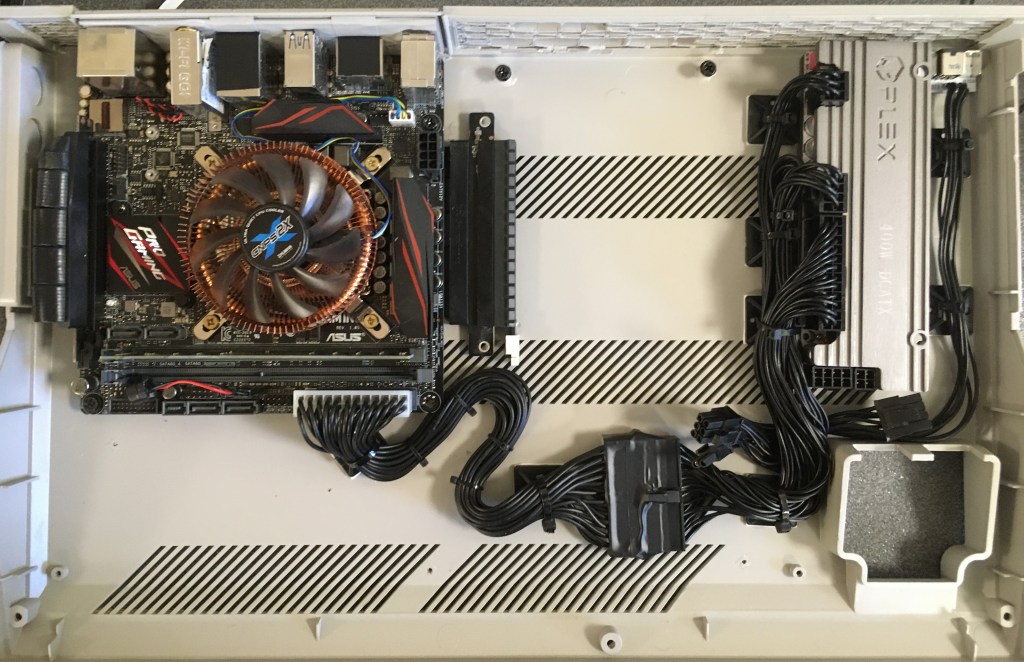
So I wondered if it would also be possible to squeeze a speaker in there as well. Another EBay purchase. China’s finest. It’s not going to blow your ear drums out with it’s base but it’s enough. Just one problem. With the case around it, it won’t fit….damn…. 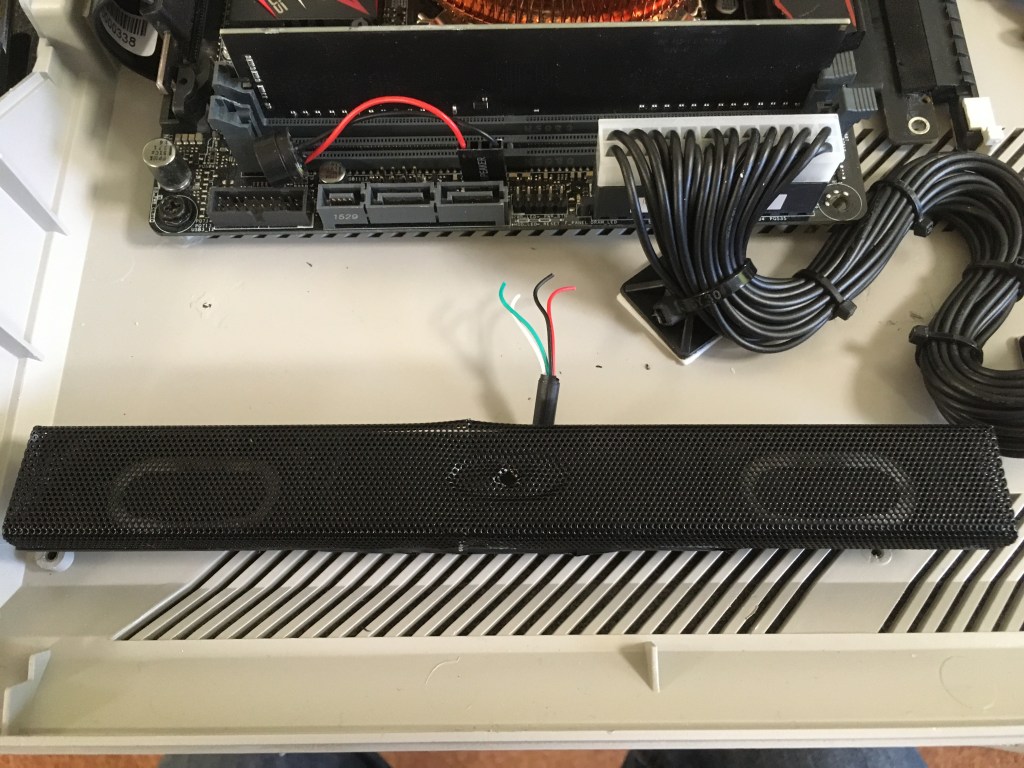
So the case didn’t fit but I won’t be beat! Remove the old case right?! 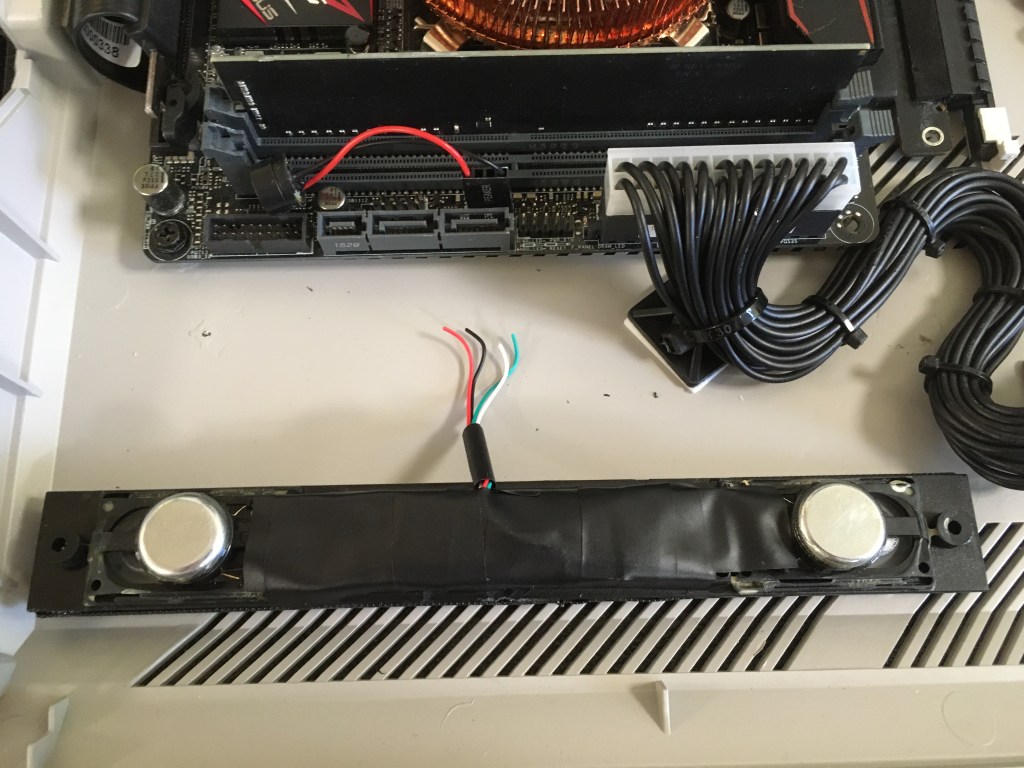
So, the old case played a part as a kind of backbox for the speakers. Time to make and 3D print an angled replacement 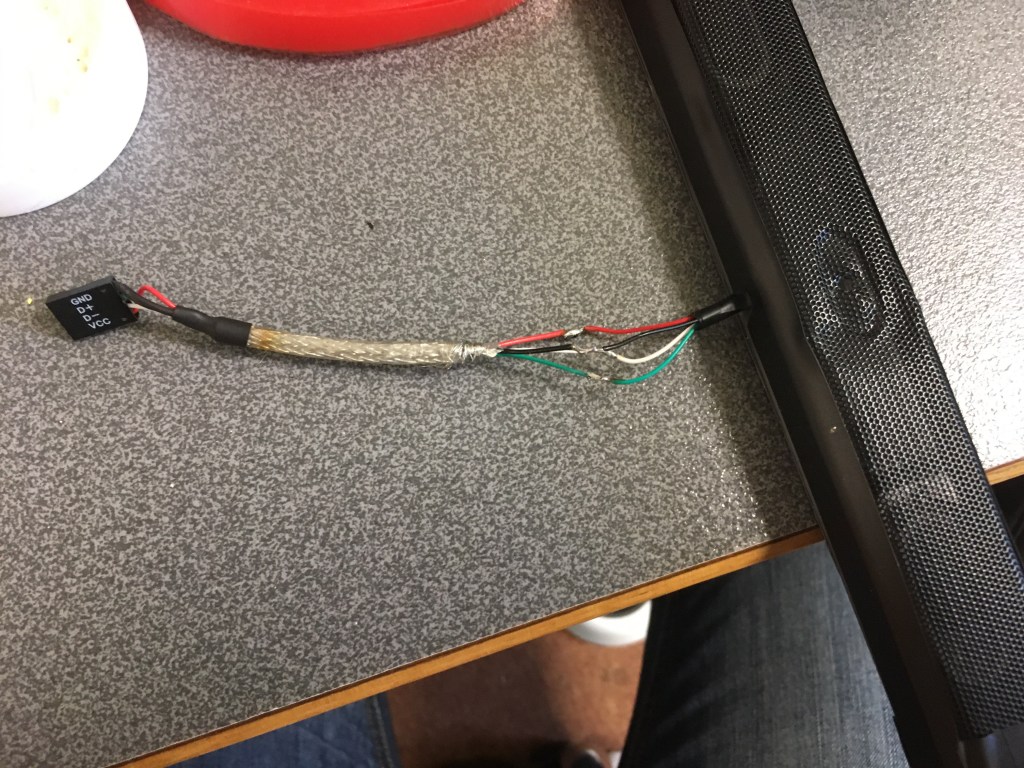
Backbox fitted. Now to solder up another direct USB motherboard header. Don’t worry I insulated each of the individual wires! 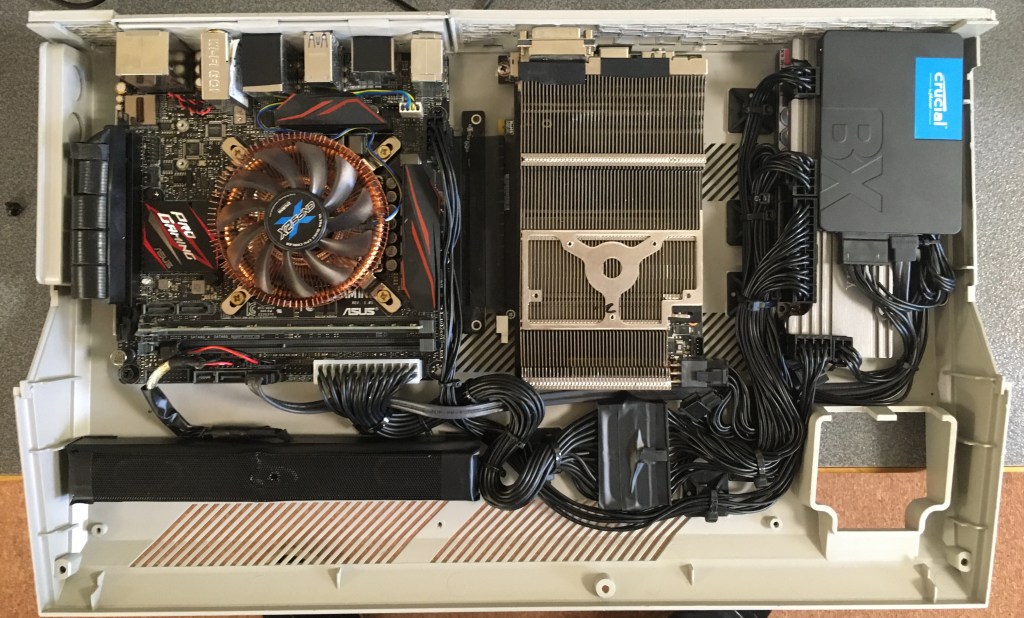
Everything seems to be fitting in nicely. 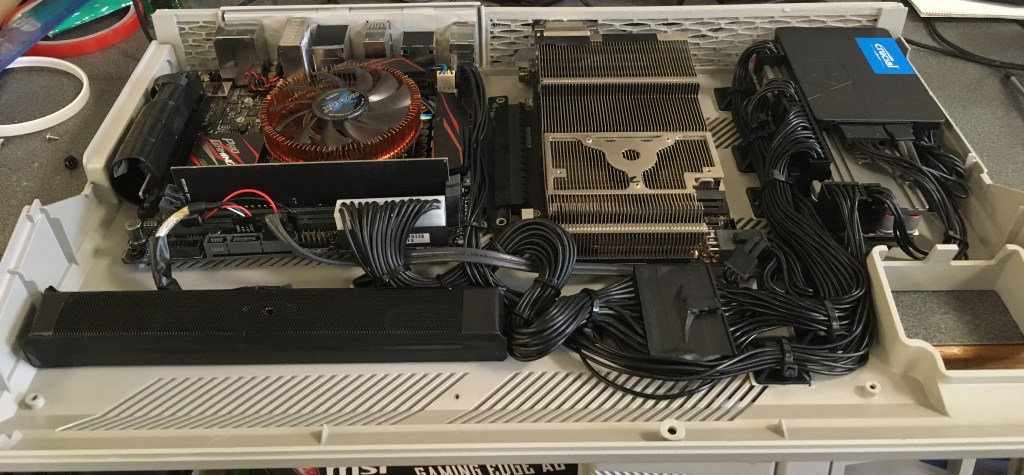
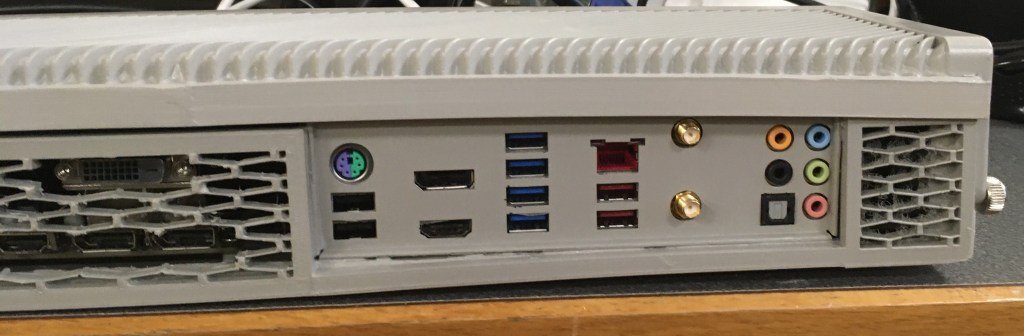
Spray painted the motherboard i/o plate the same colour as the case. Made sense after I’m sure anyone can identify what each port is without the colour coded pictures on the original. 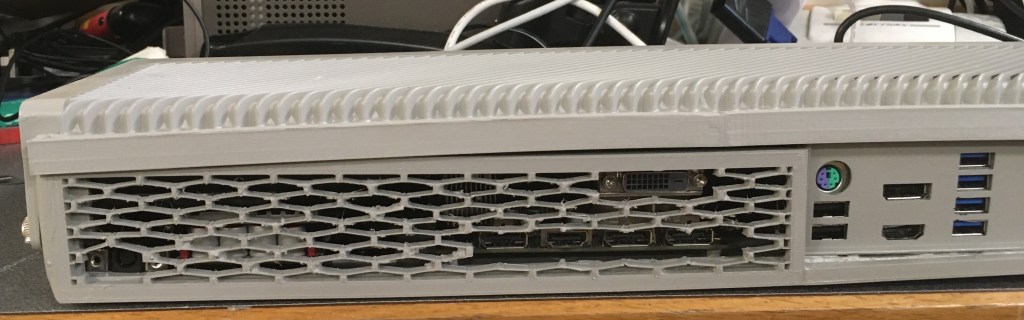
Still a bit of a gap at the top with everything in but at least the cover strip helps to minimise this. 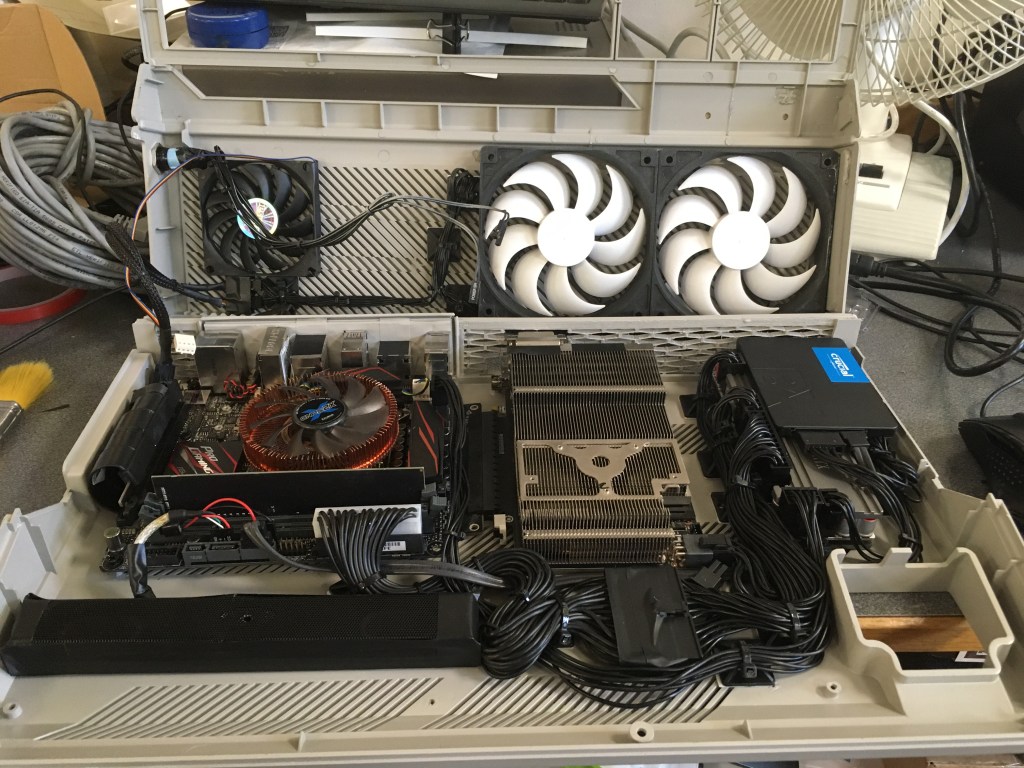
Ended up using the fan I’d mounted to the GPU and removed due to not actually helping as an exhaust fan next to the CPU as it’s this area of the case that gets warm. All controlled by the custom Asus fan profiles I created through testing. 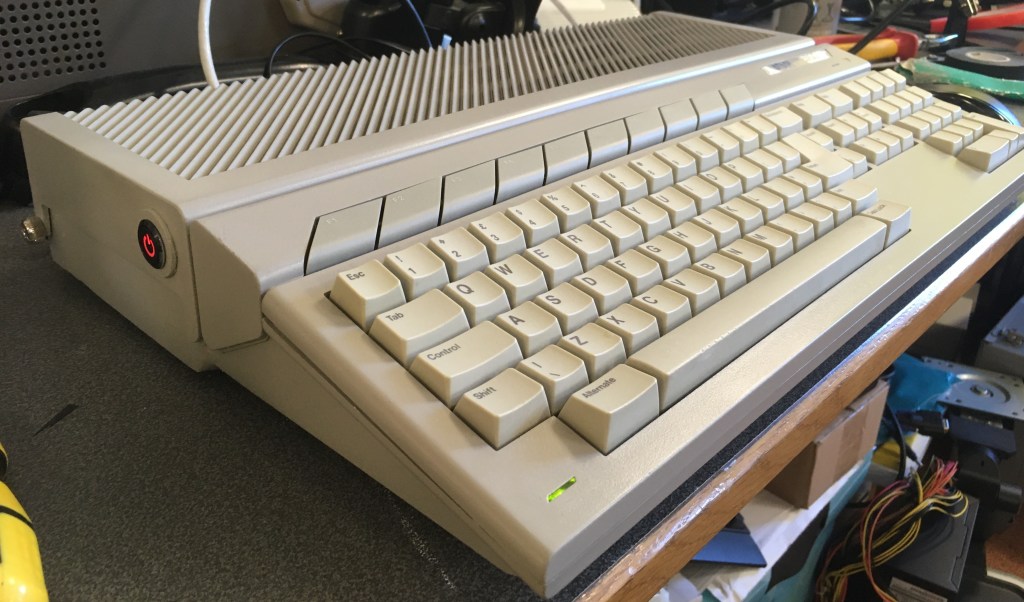
So there it is, it all it’s glory. Powered up with the momentary power switch which I soldered directly to motherboard header cables. The front of the case is screwed together using the original screws but the back I had to use thumbscrews through the top of the case into the base plastics. Not ideal, but it works. There’s 1 at either side of the case. The power light obviously works but the drive access light doesn’t. I guess the USB controller doesn’t pass this information through. Incidently all the keys map nicely to Windows equivalents.
